Showing posts with label Christmas. Show all posts

Thursday, 1 January 2015

Christmas Card Round Up

Good Evening and Happy New Year :)

Tonight I wanted to do a post to show all the cards I made for this Christmas.  Now that they have all been given out I can finally share photos :)  

Even though looking back I have made all these cards I still wasn't organised enough to get a card to everyone I would have liked.  Each year though I seem to be getting more organised, perhaps I can get my things together even earlier this year.

First up are these lovely, simple and easy cards I made for my colleagues at work.  For these I used the Annabelle Stamps clear stamp set Jewelled Tree.  I love those stamps, and am sad that Annabelle stamps is closing down.  If you are quick they do still have some of this set for sale on their website.  The sentiment also came from this set, and was certainly a favourite this year.


Next up a card I made for a special lady.  These shapes I bought from the local craft store and they were actually really thin wood veneer shapes.  I coloured it with Viva Inka Gold in Brown Gold and then used a simple design for the card.


These Christmas wreath cards were made for friends of mine to give out at our annual Christmas BBQ.  The idea from these came from a card design I found on the web.  Simple, yet super effective, and yes that Annabelle Stamps sentiment again :)


I apologise for the really bad photo of the next card, it certainly didn't look this fuzzy on the screen :( Another wood veneer shape coloured with Viva Inka Gold.  For this card I went with non traditional black and white and lots of sparkly silver glitter.


The next two are very special cards.  For these two I used images from the Teddy Bo - Teddy Bo Bea Tabs 002 images. I cropped them down, increased their size and made two very CAS cards.  Teddy Bo images are so super cute!!

The first card was made for my sister and her husband and three boys.


This card was made for my Mum.  I affectionately call her Mumma Bear sometimes so I thought the TeddyBo image would be just perfect for her!!
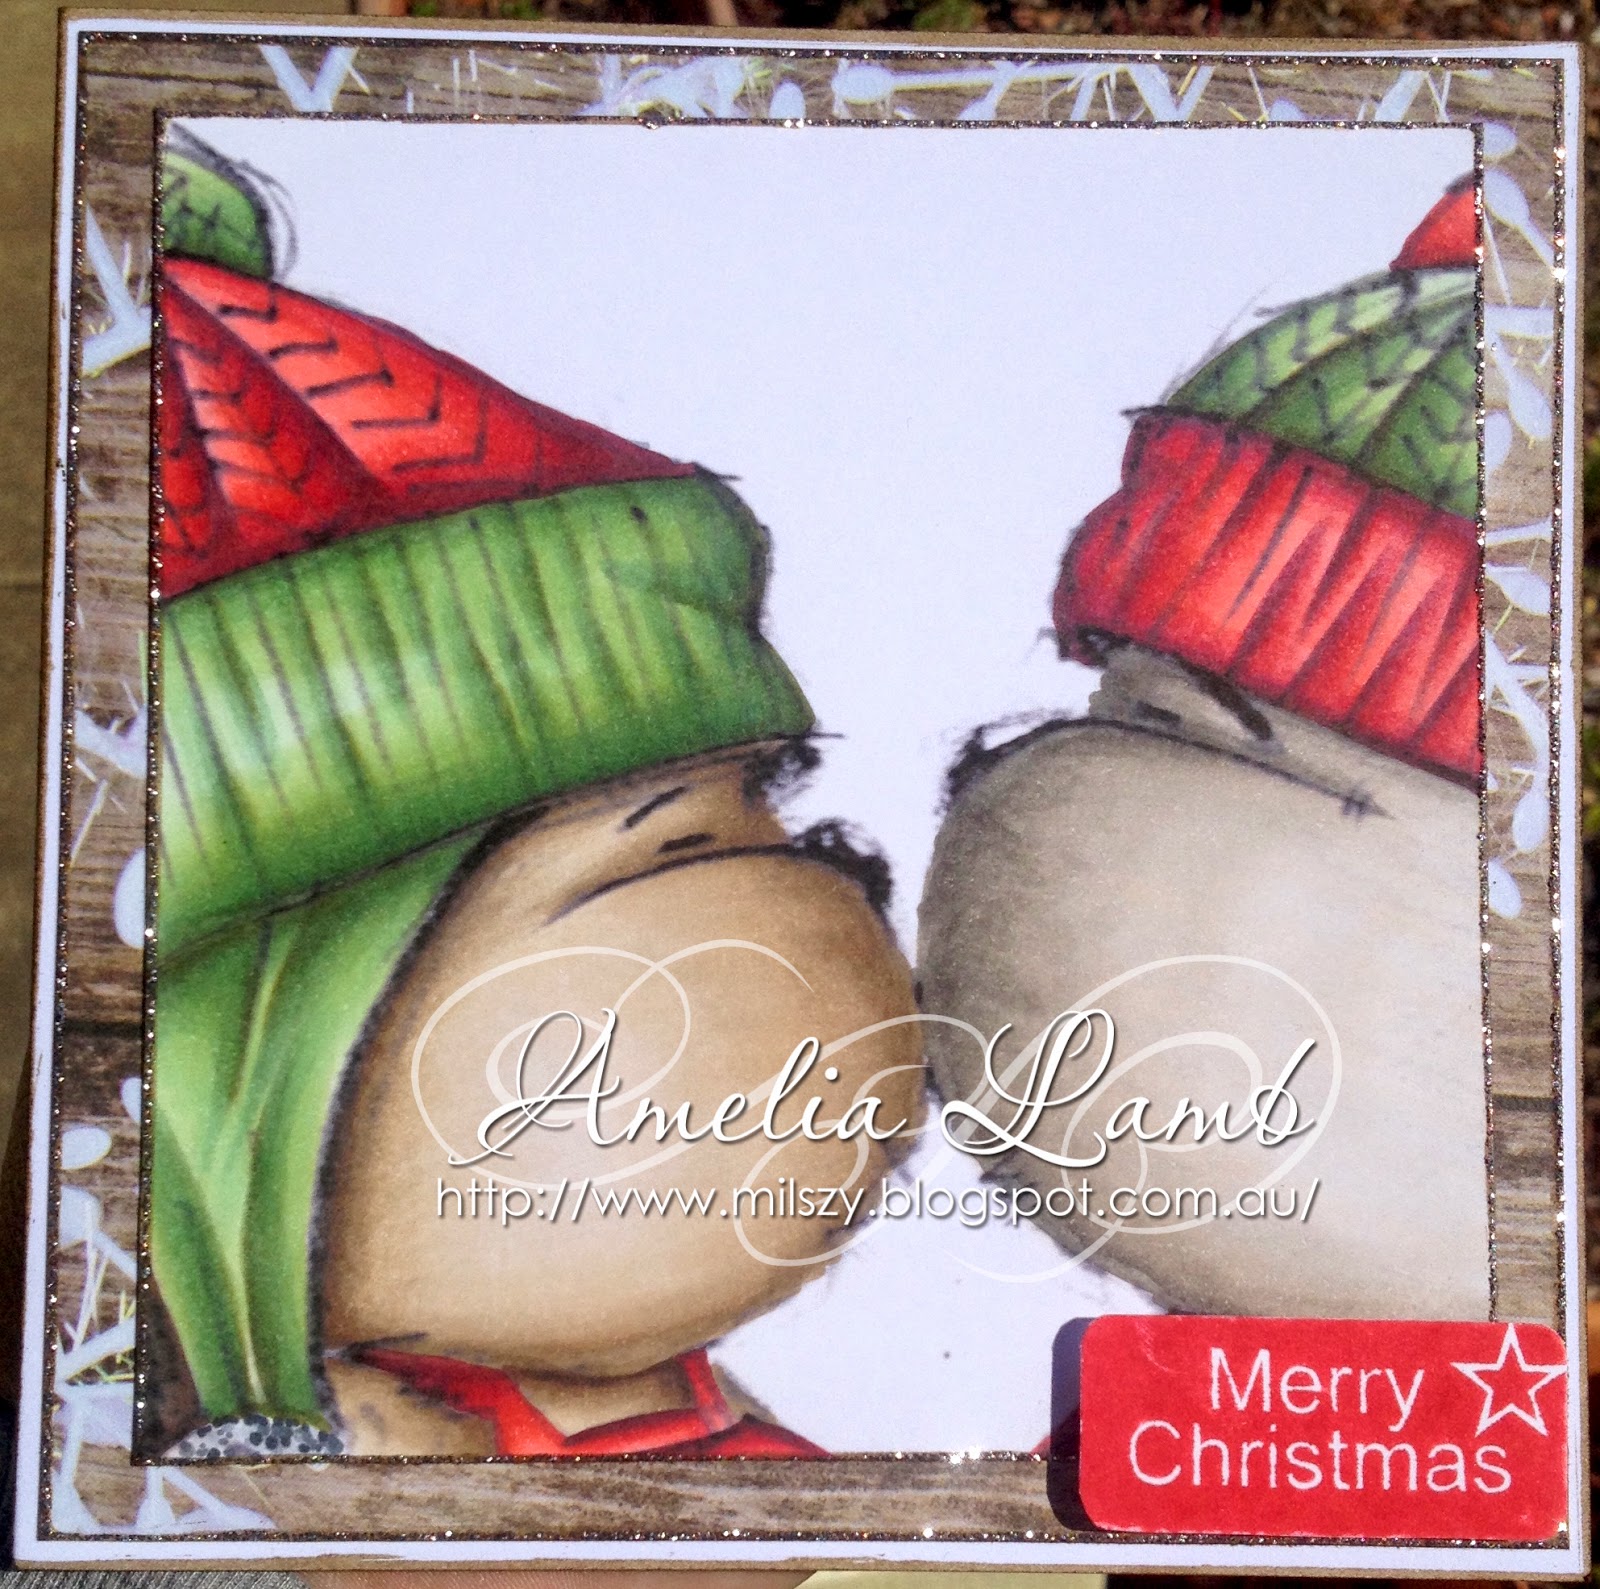

The next card was for my Kit and Clowder Secret Santa swap.  My swap partner ended up being Alyce, super intimidating to start with!!  However, once I relaxed and thought about I decided i would try and show off the skills I have worked on in the (as yet unfinished, but I plan to remedy that in my holidays) Skin and Hair class.

For Alyce's card I picked this image from Art by Mi Ran  called Rudy and Her Present.  I cropped her down, flipped her and increased the size, she is super cute! 


The last card I have to share with you tonight was for my Make it Crafty Secret Santa recipient.  I had to make a card for the wonderful Denise who is Whimsy stamps, so I wanted to include a Whimsy image merged with the fabulous background stamps and elements from Make it Crafty.

The images for this were Whimsy Stamps - Penguin Light Me Up which is unfortunately no longer available and I merged this with Make it Crafty's, Oh Christmas Tree and Fireplace


I really enjoyed making this card, and was really excited when it made it to the states in one piece and super quick!!

I hope you all had a lovely Christmas and New Year.  May your 2015 be filled with love, laughter, happiness and good health!!

Thanks for looking


Wednesday, 26 November 2014

The Stamping Chef Challenge # 57

Good evening all :)

I am here tonight to share with you my design team piece for The Stamping Chef weekly Anything Goes Challenge.

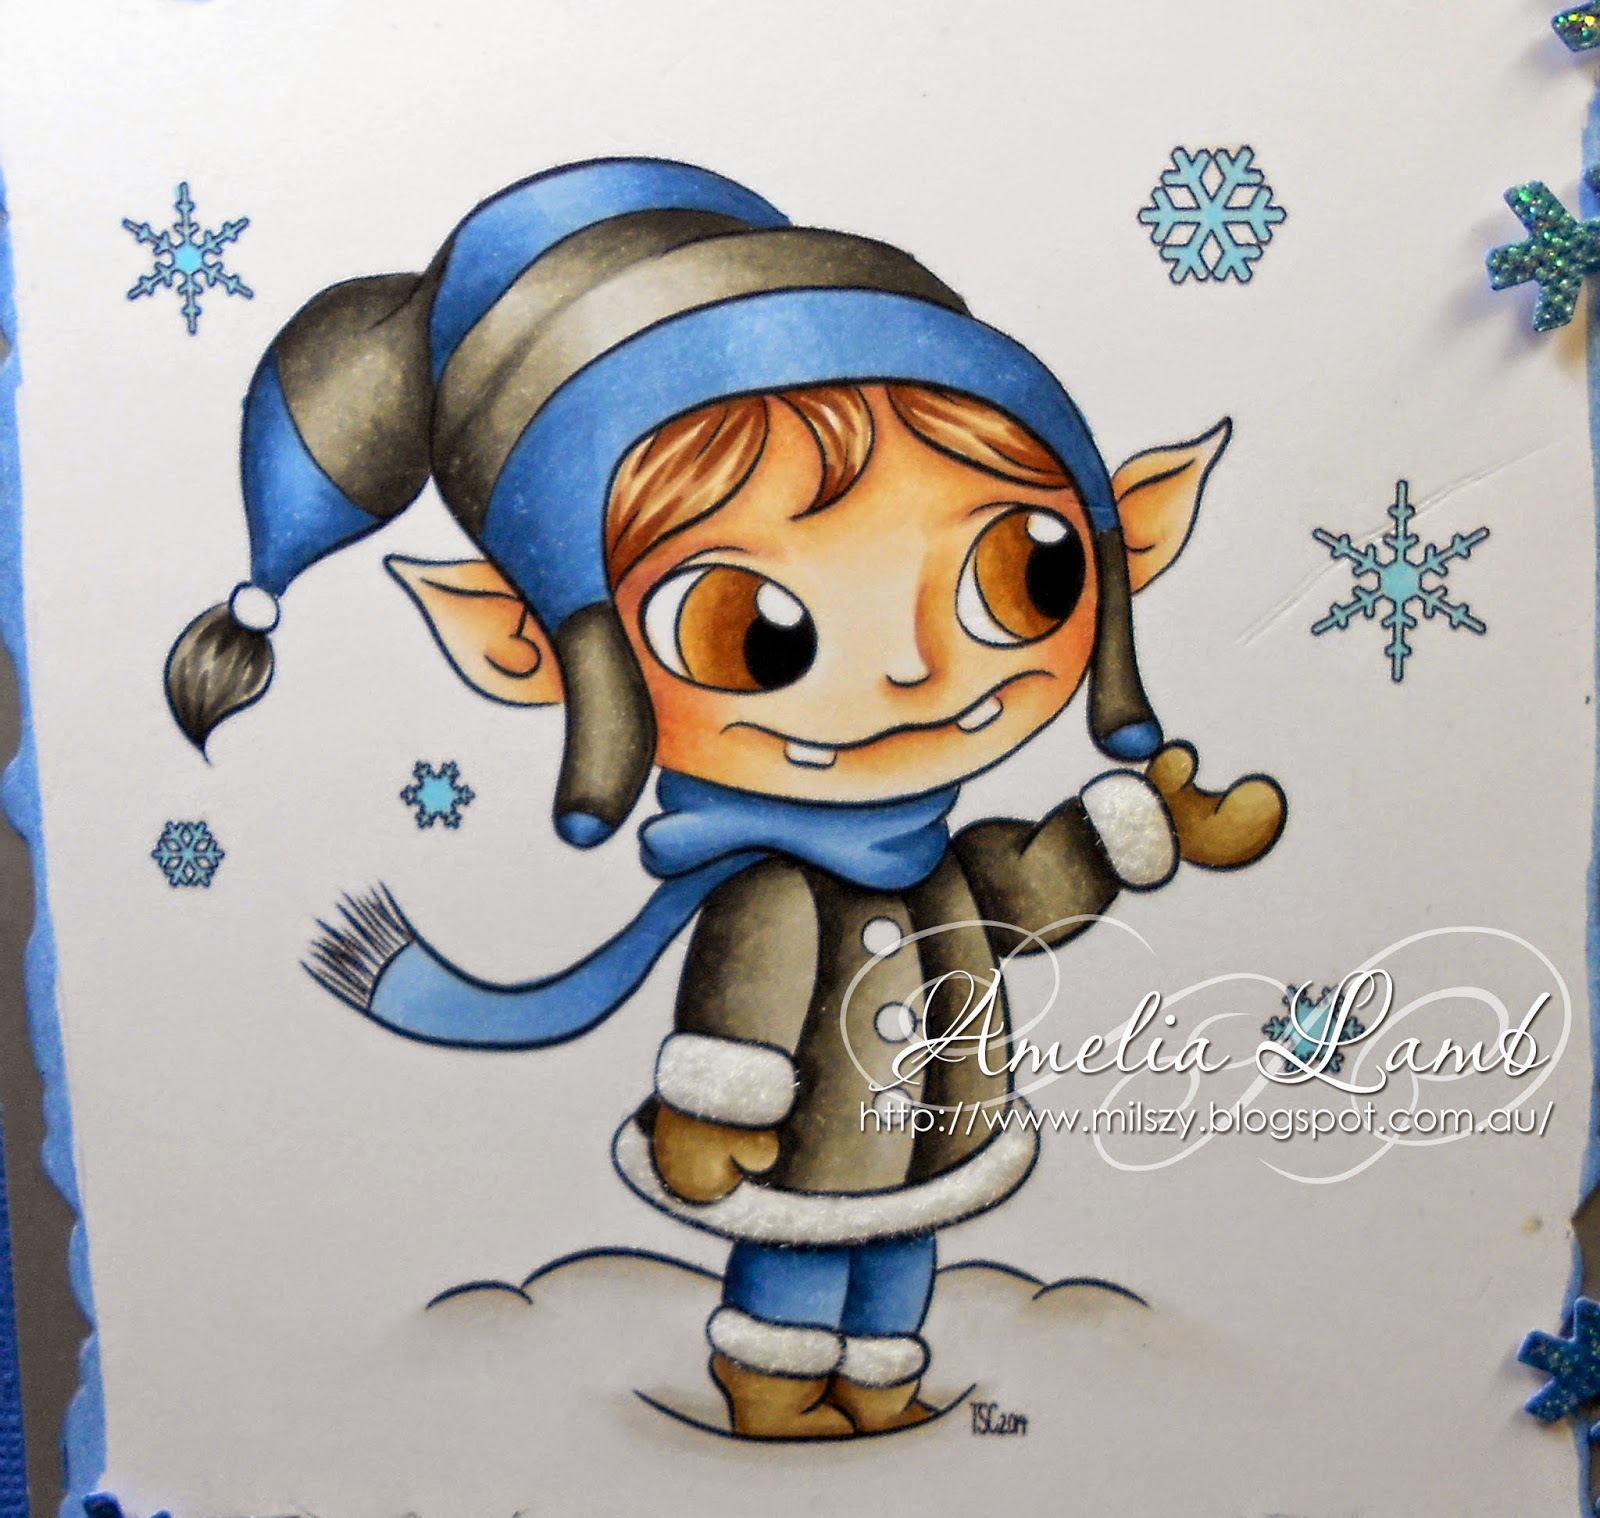
For this card I have used the adorable Flox to make a Christmas card.  Whilst we certainly don't get snow in Australia at Christmas time I love all these wintery images :)


Copic Colours

Skin - E000, E00, E21, E11, E04 & R20
Blue - B91, B93, B95, B97 & B99
Grey - W9, W7, W5, W3 & W1
Hair - E21, E25 & E29
Shoes - E41, E43, E44 & E47

To give the fuzzy, furry look to the trim on his coat I have used some gorgeous slightly sparkly white flock stuck with glossy accents :)


We look forward to seeing your entries over at the Challenge blog, and remember, if your card contains a Stamping Chef image, please share your make with us over in the Facebook group :)

Thanks for looking

xx 


Sunday, 29 December 2013

MiC Secret Santa

The fabulous Zoe from Make it Crafty (MiC) organised a fabulous Secret Santa project for this year.  Register and your name will be given to someone and you will get someone else's name to make them a card and put together a small present up to $15 and send it by the end of November.  As soon as I saw the post I registered, I loved this idea!!!

Well that was until I got my Secret Santa recipient and realised that Bron was one of the MiC design team members... cue colouring nerves!!!  I had to come up with something fabulous, and out of my comfort zone, so I put together a whole digi scene to colour using the following three different digi stamps.

Winter Town 
Tinkles
Gift Boxes - Part of the Festive Elements Set
  

This is the most complicated piece I have attempted, and I was so happy with how it turned out!! Although at one stage there I thought it was going to be the death of me, having to sit for this long with a back that is not 100% was just another added challenge to throw into the mix.

Copic Colours

Tinkles -  Red-R32, R35, R37, R59 Green-G20, G21, G24, G28, G29 Hair-E50, E53, E55, E57  Bells-Y15, Y19, Y38
Trees - G21, G94, G99.  E13, E15, E18
Houses - Bricks-E70, E71, E74, E77  Roof-E43, E44, E47
Presents - B93, B95, B97, B99 - BG70, BG72, BG75, BG78 - V01, V04, V06, V09 - B23, B24, B28, B29 - YR15, YR68, YR27 - G02, G03, G05, G07 - RV81, RV83, RV85, RV89

Thanks for looking

xx


Christmas Bells

I managed to finish only 6 more Christmas cards this year on top of the four others shown in recent posts.

Using a Meljen's Design image, Jingle Bell my first three cards I made this year were bit fancier than the last three you will see in this post - just goes to show what can be done when one has more time!!  Three cards using the same  image with slightly different colours, and completely different card designs.


Copic colours used - 
Bell - Y15, Y19, Y38, E13 and E15
Holly - R29, R59, R89, G20, G21, G24, G28 and G29
Ribbon - BG000, BG01, BG05 and BG09 


Copic colours used - 
Bell - Y15, Y19, Y38, E13 and E15
Holly - R29, R59, R89, G20, G21, G24, G28 and G29
Ribbon - V01, V04, V06 and V09


Copic colours used - 
Bell - Y15, Y19, Y38, E13 and E15
Holly - R29, R59, R89, G20, G21, G24, G28 and G29
Ribbon - B91, B93, B95, B97 and B99

The next three cards use an image from a company call Stitchy Bear's Digi Outlet, the image is called Circle of Bells.

I needed to get these three cards in to work on the Friday morning of our last day this year, so at 5am on the Friday morning I was up making up cards.  My images had been coloured during that week, so thankfully I had that much done to make up some cards with.  Once again, three of the same image with three different colour combinations.  These card designs as you will notice are a lot plainer and simpler in design.


Copic colours used - 
Bells - T1, T3, T5, T7 and T9
Holly - R29, R59, R89, G21, G94, G99
Leaves - G24, G28 and G29
Ribbon - BG000, BG01, BG05 and BG09


Copic colours used - 
Bells - Y15, Y19, Y38, E13 and E15
Holly - R29, R59, R89, G21, G94, G99
Leaves - G24, G28 and G29
Ribbon - B91, B93, B95, B97 and B99


Copic colours used - 
Bells - W0, W1, W3, W5
Holly - R29, R59, R89, G21, G94, G99
Leaves - G24, G28 and G29
Ribbon - V01, V04, V06 and V09

Thanks for looking

xx


Make it Colourful Challenge #4 – Red & Green

Making the most of my time off now and working on my colouring.  As I had limited time to make this card, it has to be delivered to an out of town friend tomorrow I kept to the easy challenge at Make it Colourful this month, colouring with red and green.

Yes I know, Floppy from Make it Crafty (MiC) is back again but I do love this little guy... what you're telling me you already knew this??  ;)

To make him a little different this time I have cropped him down to a portrait shot.  I have used the December sketch layout challenge from the MiC Facebook group for my card design.


The bells I got from a Christmas ornament I purchased from my local K-Mart.  They were strung together with a piece of wire to make a little wreath and came in red and white.  I cute the wire, pulled them off and now have a heap of them to use on Christmas cards, they jingle quite nicely too :)  My postmark sentiment is a Kaszazz stamp, one of my favourite Christmas stamps.

A close up of our little Floppy


Copic Colours Used
Hat - Red R35, R37, R59 and R89    Green G20, G21, G94 and G99
Fur Trim - W0, W1 and W2
Belt and Hair - E40, E42, E43 and E44
Eyes - E70, E71, E74 and E77
Skin - E000, E00, E21, E11, E4 and R20

Thanks for looking

xx


Saturday, 28 December 2013

A Make it Crafty Christmas Special

Leading up to Christmas this year I seemed to have plenty of time to make up all my cards ready to go, then it felt like I blinked, Christmas was upon us and I had very few ready to go.  Thankfully there are some understanding people in my group of friends who aren't holding it against me.

So Christmas morning I was up early, not because I have children and there was presents to open from Santa, I had cards to finish!!  I had two to get ready for the day, Ma and I had already decided that we wouldn't stress ourselves, and would give each other our cards after Christmas.  I finally delivered it today!!

So for my two cards for Christmas day I coloured up Floppy from the Make it Crafty (MiC) Store.  I wanted to steer away from traditional colours and so we have two very pastel coloured cards.

First up for my Kris Kringle recipient


This next photo shows the gorgeous sparkle from the Diamond Stickles on those Snowflakes


Finally a close up of the adorable Floppy.  The fur trim on his hat and sleeves is done with Glossy Accents and white flock.


Copic colours - 
Blues - B0000, B000, B00 and B01
White - W0, W1, W2
Shoes and Hair - E40, E42, E43 and E44
Bell - E50, E51, E53

Next up was a card for my Sister and her family.  She has a family of boys, so not really the right colours for the boys in her life, but I know she appreciated it :)


The background paper I made myself with Kaszazz snowflake stamps, pewter embossing powder and Milled Lavender Distress Stain. All the elements have then been edged with Distress Stain Brushed Pewter, it has a gorgeous shine to it as you can see in the next photo.  Unfortunately my sentiment curled with the crackle medium, and definitely didn't turn out the way I wanted it to, but there was no time for me to be able to fix it.


Copic colours - 
Blues - BV000, BV00, BV02 and 0
White - W0, W1, W2
Shoes and Hair - E40, E42, E43 and E44
Bell - E50, E51, E53

So as I mentioned above, I delivered Ma's Card to her today. Using another MiC image - Fairy Bauble.  As you can probably tell I love the MiC images, just so much fun to colour, and they almost always provide me with a new challenge in learning to use Copics.

I tried to make it matching the december sketch challenge on the MiC Facebook group, but found out I had printed my image too big.  So still keeping the basic elements I moved the image left, the banner right and came up with the following


Papers are from Maja and Kaisercraft matted with Chocolate and White Shimmer card stocks respectively.  The sentiment is also Kaisercraft.


Copic Colours - 
Bauble - E40, E42, E43, E44, E47 and E49
Hair - E40, E42, E43, E44 and a touch of E47 inside the curls
Wings - E70, E71, E74 and E77
Wings - E70, E71, E74, E77 and E79
Holly - G20, G21, G94 and G99
Berries - R35, R37, R59, R89
Eyes - BG01, B01, B00, B000 and B0000

I would like to enter my final card, Fairy with Bauble into the MiC Facebook Design Team call for January to April 2014.  **fingers crossed**

Thanks for having a look today,  I hope you and you families had a lovely Christmas and I wish you a safe, happy and healthy New Year for 2014.

xx


Sunday, 6 January 2013

Christmas 2012

Hiya,

Well it has certainly been awhile, what a crazy year 2012 was!!  Happy new year to all, here's hoping 2013 is better!!

Although not starting off so well for me, since my health problems in September 2012 have not gone away, and I am looking at probably having more surgery in the near future, here's hoping it is all out of the way early in the year and we can get on with it!!

So the end of last year crafting wise was not flash for me either, between my health and work I barely got any Christmas cards made, in fact 3 only!!

Let's start with the Wild Rose Studio's Starry Night stamp from the Xmas Bella Collection.  Being that this was for one of my male friends, I have tried to limit the bling on this and keep it a little more...blokey...??


The snowflake background was done with my Kaszazz Snowflake un-cut set and the fur on the hats was made using liquid appliqué, love using that stuff - so much fun!!!

Next card was for my sister and her family.  With three boys 8, 4 and only 9 months I certainly didn't want anything girly for my little men either.  I came across the docrafts, Christmas Boofle Stamp - Reindeer...perfect!!  The natural colours of this card seemed to blend perfectly with the colour of my reindeer making 'Rudolph's' nose pop off the card :)


Such a cutie!!

Finally a card I made for my dearest Ma.  As soon as I saw this stamp at the scrap store I had to have it.  She is quite a large stamp, but utterly gorgeous!!  I really did have a lot of fun inking her in :o)  From Penny Black Inc. it's Fairy Holly.  Not much other embellishment required for this little beauty...


The Snowflakes and Monogram M stamp are both courtesy of Kaszazz, and some liquid pearls to complete the job :)

I hope you and your families enjoyed a safe and happy festive season, and I wish you all good health, happiness, love and laughter for the year to come.

As always, if you have any questions, please feel free to leave a comment :)


Thanks for looking xx


Sunday, 25 December 2011

Merry Christmas

Merry Christmas Bloggers,

Yes, yes more Christmas cards. These are all cards I have made for my Family and my Friend.  As Ma and Nicky are followers of my blog I have had to schedule this post otherwise they would see their cards before I had a chance to deliver them.

So first up is a card I made for my very special Ma.  I decided to make her a card with very un- traditional colours.  This is the first one I made using the Metallic silver card, and loved it so much I have used it on a couple since :o)  So for Ma I decided to go with a Purple and Blue theme to make it very different.

The purple paper was from Allison Ellis Design and I love that it is just so different from the normal Christmassy papers we see at this time of year.

First up the cute Something for you Tilda from the Sweet Christmas Dreams Collection - 


This cute little lady has been painted using Distress Re-Inkers in Milled Lavendar, Dusty Concord and Pumice Stone.  With Diamond Stickles on the fur trim.

And now for the (almost) finished product - 


The swirl is from the Magnolia Doohickey's Leaf and Swirl set.  The snowflakes were cut using my Sullivans punch and coloured using Smooch in Pool, and then covered with Diamond Stickles.  They turned out so beautiful and bright.  I have since added some lovely light blue gems into the middle of each of the snowflakes to give that final finishing touch.


For my Sister and her family I have used the gorgeous little Reindeer Tilda from the Merry Little Christmas Collection.  I have probably said it a number of times before but this has to be one of my favourite ever Tilda's.  


Once again I have painted her using slighty unconventional colours for a Christmas card.  Her hair originally was even more orange than it is now but I have toned it down using Brushed Corduroy and by adding some shading using my Walnut Stain Distress Ink.

And the finished product - 


The third card up today I have made for my Brother and his Wife.  I have used the Snow Buddies Popcorn the Bear Stamp set.  Once again I have used liquid applique for the fur trim and the snow - the way that it has puffed up when heated is perfect giving an awesome texture to the card.  It makes Popcorn and his Mrs's hats look so warm and snuggly!


So for this card I didn't really have any papers that would quite match so I have made my own background paper using the gorgeous snowflake background stamp from the Kaszazz range. I embossed them with platinum embossing powder over a background I made by swiping Broken China Distress Ink over a plastic sheet, and spritzing it with Silver Glimmer Mist and dropping the card on top.


The final card is for my friend Nicky.  I have used 2 inked stamps for this one.  The Bildmalarna Mimosa Christmas Flower and Christmas Tree stamps.


I love both of these Stamps and how they have come together for this card.  I hope Nicky and Shannon like it also - 


Finally to finish up I have a birthday card, just for something different :o)

This card is for my Brother's wife and I love the blend of colours with Tilda, the paper, card and the Prima Flowers.

First up lets have a look at Butterfly Tilda from the Butterfly Wishes Collection.  This funky little Tilda with her Purple hair is very out there...


The die cut Butterfly in the background is produced by Cheery Lynn and is a beautiful die, I just love this!  It takes patience to pop out all the shapes, but makes a statement!

And now the finished card - 


I hope that you and your family have had a wonderful Christmas day, and hopefully the celebrations are not concluding just yet :o)


xx Milly
Related Posts Plugin for WordPress, Blogger...